When I had COVID earlier this year, it really knocked me off my feet. There were days I couldn't even muster the energy to get out of bed. My husband was also hit hard, sleeping for nearly 20 hours a day. Amidst the struggle for recovery, I found myself glued to the television more than ever before.
One particular show caught my attention - an Amazon Original called "A Private Affair," a Spanish period drama. As a vintage enthusiast running a blog titled Vintage Style Gal, it's no surprise that I fell in love with this series. It touches upon various aspects of life: vintage cars, vintage clothing, vintage hats, vintage shoes with a mystery thrown into the mix. All of my favorites!
The main character's attire, especially her hats and her 1952 Hudson Hornet (imagine the speed on that beauty), fascinated me. The allure of vintage fashion got the wheels turning in my little ole' mind (batting my eyelashes, teehee...).
Being a broken record about my love for birds and upcycling, I had a lightbulb moment. I decided to try my hand at jewelry making using recycled materials. With a penchant for brooches, I set my sights on creating one.
I have instructed my husband to keep all cardboard since I like to find unique ways to use cardboard like for pictures, or DIY candle rings, or my upcycling projects, and even DIY spooky ghosts. Not only does this practice reduce waste, but it also brings me joy to create something beautiful out of discarded items.
Initially, I traced bird images from online sources onto cardboard for my brooches. However, I soon decided to dust off my old Cricut machine and give it a try. The precision and ease of the Cricut cuts surpassed my expectations (and my skills), making the process much smoother.
While I had reservations about the Cricut's compatibility with materials like cereal boxes, I was pleasantly surprised by its performance. One hundred percent honesty here, I thought I would be able to do all the things with Circut; however, I realized that the machine's preference for proprietary products conflicted with my ethos of budget-friendly crafting so I rarely share crafts using it.
Back in 2020, I nearly sold my Cricut due to frustration with its limitations. Yet, keeping it proved to be a wise decision, as I have recently learned, it opened up a world of possibilities working with cardboard for my recycling projects.
- Find a free bird image online and paste it into a template in Cricut Design Space. If you're crafting without a Cricut, trace the desired bird image onto paper.
- I used a cereal box for the Cricut version and a mashed potato box for the hand-cut version.
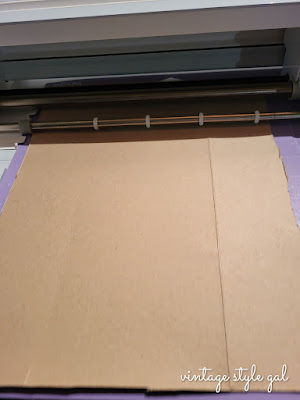
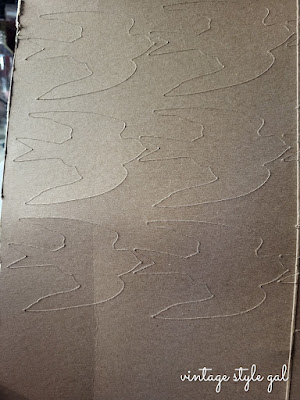
- Place the cereal box onto a mat and feed it into the Cricut. For non-Cricut crafting, trace the birds onto cardboard.
- Observe the precision of the cuts with the Cricut and the close placement of each bird, using less material compared to manual tracing and cutting.
- Pop out each bird, ensuring that the details remain intact.
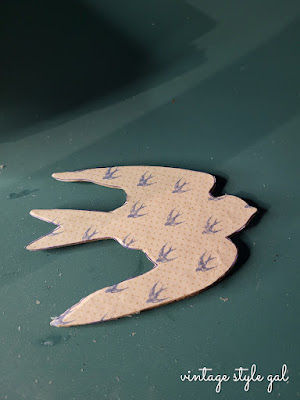
- Trace the bird image onto your chosen paper (scrapbook paper or wrapping paper is what I have used here), if desired, ensuring that you avoid waste.
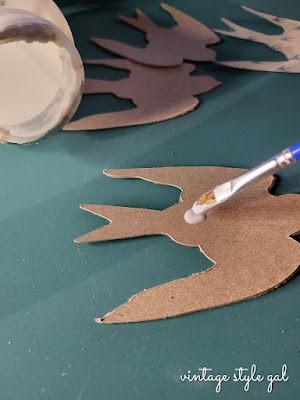
- Apply Mod Podge onto one bird at a time and layer them together. Use a small paintbrush to minimize mess.
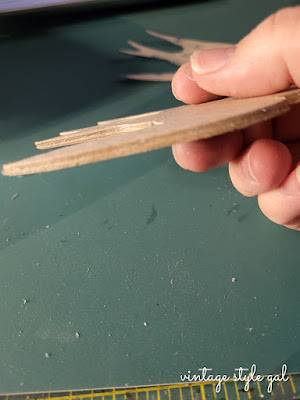
- For a sturdy piece, laminate five birds together, pressing down firmly with each addition.
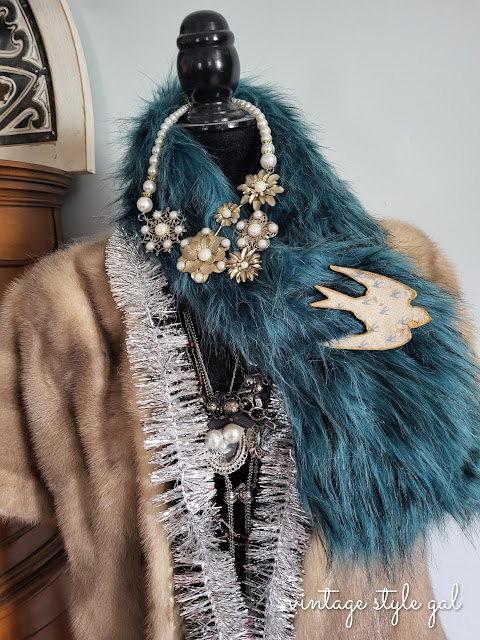
- Once assembled, glue decorative paper to the top to create your brooch.
- Apply another layer of Mod Podge to the top of the decorative paper and allow it to dry.
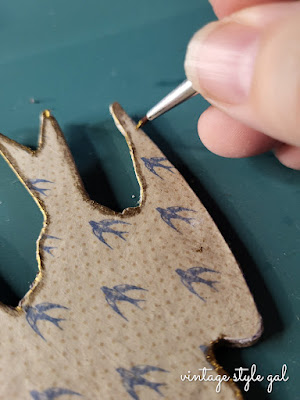
- Enhance the appearance by applying Antique Gold Rub-n-Buff to the top, and sides of the brooch.
- To conceal any imperfections, apply Antique Gold Rub-n-Buff to the back of the brooch as well.
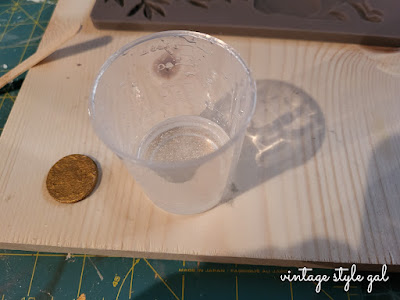
- Seal the piece with resin for durability, applying three coats to the top, sides, and back. This is a long process since you need to allow for at least 24 hours between each application.
 |
| The silver is my hand-cut version which I abandoned since I did not feel it resembled the bird cutout |
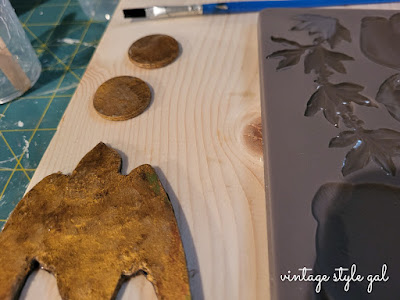
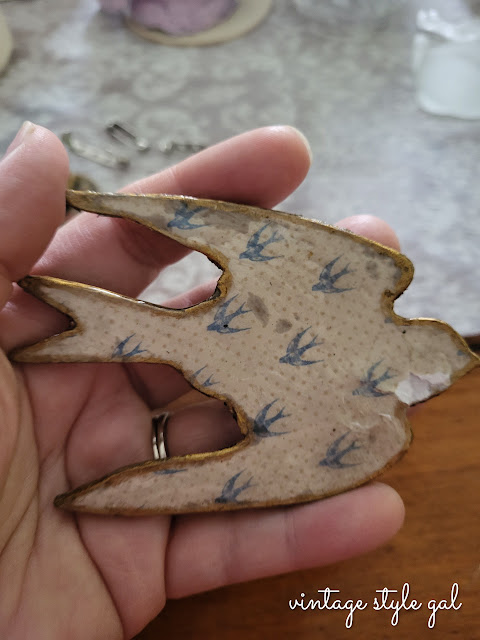
Here is where I went wrong, I placed the brooch face down on a piece of wood I was working on, and as you can see, I damaged the brooch when I picked it up. I was miffed with myself since this jewelry is weeks in the making. I will share with you how I remedy the issue a little later.











I am amazed you were able to make cute jewelry pieces from a cereal box! After you stack the cardboard it almost looks like wood!! This is a great idea to make seasonal jewelry!! So many ideas running through my mind now! Thanks for the inspiration!
ReplyDeleteI am so happy I was able to provide a bit of inspiration Donna! I am saving all the cardboard for more craft ideas! I have so many ideas with cardboard now that I know I can use my Cricut to cut it.
DeleteSuch a fun and creative idea, Cara. I swear you come up with things I have never even seen or heard of before! I love the brooches you made and could see the plaid ones as earrings too. They're both fabulous and would make an amazing gift for Mother's Day. Big hugs and thanks for always sharing your best ideas with us. I love this, CoCo
ReplyDeleteThank you CoCo, I like to experiment, and since I have more time these days than when I was working, I make time to dabble. Not all of my experiments work, in fact, there are a good part that are a total fail, but I feel pretty giddy when I make something from nothing, and it actually looks decent so I can share these crazy ideas I have.
DeleteLove this idea, Cara. I love my Cricut and now you've given more ideas for it!
ReplyDeleteI am so happy that I have given you more ideas Ann! I have so many more to create now that I know it will cut cardboard!
Delete