Spring Craft Fun: Upcycled Easter Eggs with a Nostalgic Twist
Craft a beautiful Easter with this fun and easy upcycled egg project! Breathe new life into forgotten materials and create stunning Easter eggs using decoupage and rub-on transfers. Perfect for all ages, this nostalgic craft is a great way to embrace the holiday spirit and create lasting memories. Plus, get eco-friendly with upcycling tips and ideas for using everyday discards.
Growing up, my mom filled our house with festive decorations for every season. Thanks to her love of ceramic painting, our home overflowed with handcrafted cheer. Each holiday brought a renewed sense of anticipation, as it meant the arrival of my favorite themed decorations.
One cherished tradition included a special ceramic bunny my mom painted filled with Easter treats, usually dominated by jelly beans (the Easter Bunny's apparent favorite!). Mom's homemade Easter magic extended to a delicious white bunny cake adorned with green icing, coconut grass, and hidden "jelly bean eggs."
There were also handcrafted chocolate bunnies and chicks, giant peanut butter-filled eggs – the list goes on! Her dedication to making each holiday special is something I always hoped to carry on with my own family. Thankfully, our furry companion Bentley enthusiastically approves of our holiday crafting adventures!
A Time Capsule of Memories
Memories of those easter mornings are vivid. The smell of freshly brewed coffee mingled with the sweet aroma of baked cinnamon rolls rising from the oven. The soft glow of sunlight peeking through the curtains would paint stripes across the room, and the only sound was the pitter patter of our feet running through the house in search of our easter baskets, since you never knew where that easter bunny was going to hide it from year to year.
The anticipation of what the easter bunny brought us fueled our energy as we raced through the house. Finding our well-hidden baskets, nestled anywhere in the house, one just never knew, brought a surge of triumph and a handful of sweet treats along with a new easter outfit.
Do you know I was 26 when my mom finally quit "hiding" our easter baskets. She has always loved the holidays, and despite our protests, she would not stop. My sister and I would laugh every year saying we are too old for this, but she would reply, you are never too old, you are my babies.
Calling All Craft Enthusiasts!
Calling all those who love embracing the holiday spirit and getting a little messy with some good old-fashioned crafting! If you yearn for the carefree days of elementary school art projects, then this spring craft is perfect for you.
I've been challenging myself to create new and exciting projects using spring rub-on transfers, and let me tell you, it's been a blast! Who knew I had so much hidden crafting potential? Plus, I really dislike wasting money on single-use items – can you relate?
So, today I'm sharing a fun and festive Easter/Spring craft idea that incorporates upcycling – a concept near and dear to my heart. Upcycling is not just about saving money, it's about giving new life to discarded materials and reducing our environmental impact.
Materials Needed:
- Styrofoam eggs
- Scrap pages from a book
- Spring rub on transfers
- Mod Podge
Instructions:
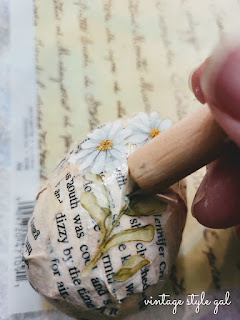
- Tear your chosen paper (book pages or otherwise) into thin strips, as these will work best when adhering to the egg shape.
- Apply Mod Podge to both the styrofoam egg and the paper strips, carefully covering the entire egg surface.
- Allow the eggs to air dry completely until the paper is no longer damp to the touch.
- Once dry, apply your spring rub-on transfers according to the manufacturer's instructions.
- Voila! You have beautiful, decorative Easter eggs perfect for your baskets, table settings, or wherever your creative spirit takes you.
Tips:
- Ensure the eggs are completely dry before applying the transfers for optimal adhesion.
- With this particular set of rub on transfers, I found the paper held up well without needing to remove the plastic covering due to the Mod Podge providing protection.
- Not a fan of deconstructing books? Shred your unwanted mail and use those strips instead! (But if you do choose to use book pages, remember: go all in! Use the whole book if you're going to take it apart in the first place – just make sure to tear the pages into thin strips.) See our Christmastime craft I created that got this whole book shredding event started.
Upcycled Easter Eggs: A Craft for All Ages
This upcycled Easter egg craft is perfect for crafters of all ages. Even young children can participate with a little adult supervision. Here are some tips for making this craft a success for different age groups:
- Young Children (Ages 3-5): Keep it simple! Tear the paper into larger strips for easier handling. Pre-cut some shapes or stencils with Easter motifs if you want to guide their designs. Opt for non-toxic craft glue instead of Mod Podge for easier clean-up.
- Older Children (Ages 6-12): Allow them more creative freedom to tear the paper into different sizes and shapes. They can experiment with different decoupage materials like fabric scraps or napkins. Introduce them to the concept of Mod Podge and supervise its use.
- Adults: Get creative! Use a combination of decoupage techniques, paint accents, or embellishments like glitter or buttons. Challenge yourself with more intricate designs or try decoupaging on different egg shapes or materials.
This craft is so easy, it's perfect for the whole family! It brought back memories of my own childhood decoupage adventures in school. Back then, I doubt any of us knew the fancy name for what we were doing – it was just glue, paper, and a whole lot of fun (with a few messy mishaps along the way, like the boy who became strangely fond of the glue and another who discovered the joys of peeling dried glue from his hands like a second skin). Wow, the memories went way back on that share!
Styling Inspiration:
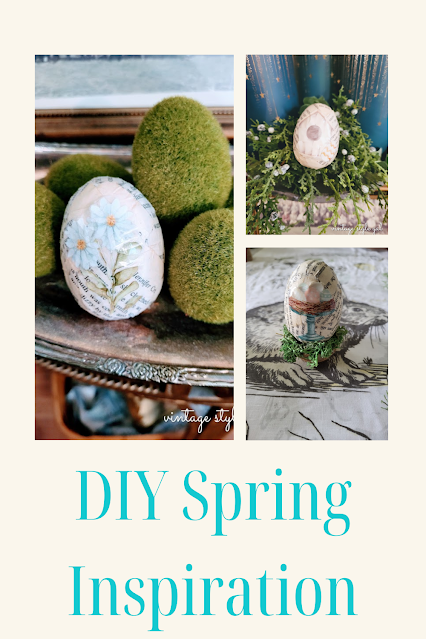
For this project, I opted for smaller rub-on transfers to allow for full image application. Once the eggs were complete, the ideas for incorporating them into our Easter décor came flooding in!
- Nestled in a DIY scripted bucket with a touch of Spanish moss for a charming touch.
- Arranged on a silver serving tray alongside green moss eggs and other decoupaged Easter eggs for a delightful display.
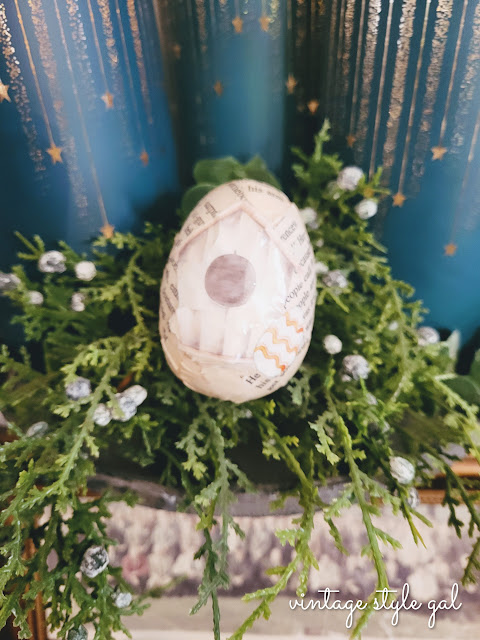
- Tucked amongst cedar branches on a decorative tray for a unique rustic touch.
 |
| Place greenery into spools of string |
The Best Part?
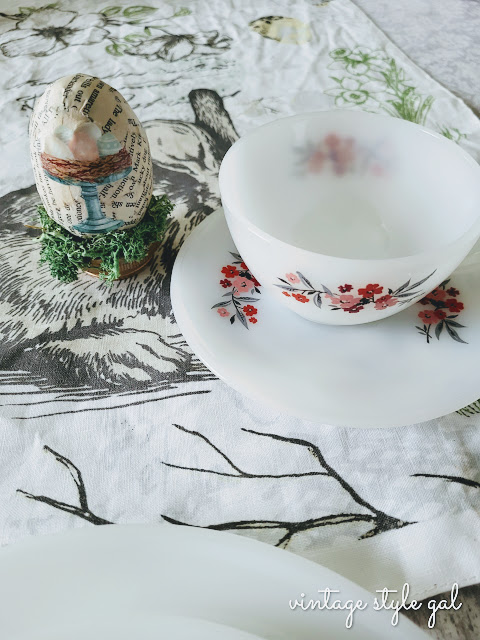
Personalizing your Easter table! While working on these eggs, I came across a bag of random scraps and trinkets. Imagine my delight when I discovered a treasure trove of prescription bottle lids! Now, these lids weren't exactly aesthetically pleasing on their own, but with a little creativity, they were transformed. A coat of Antique Gold Rub-n-Buff and some green moss, and voila – the perfect little place setting holders for our Easter eggs!
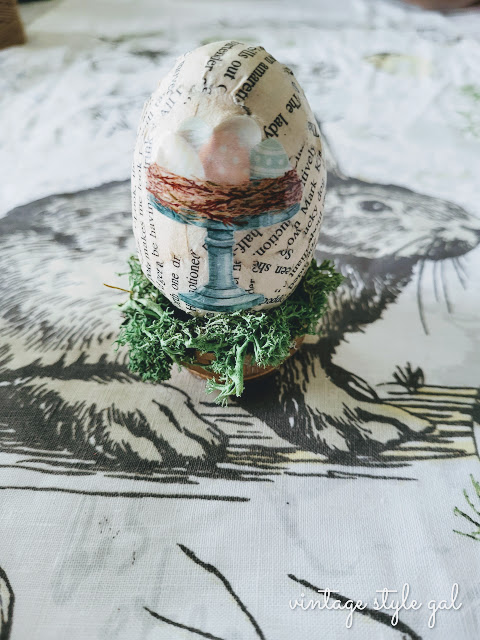 |
| Prescription Lid, turned Egg Holder |
I can't emphasize enough how much I enjoy using everyday discards for crafting projects. It truly unlocks my creative side and allows me to unwind and de-stress. Life can get hectic, but crafting offers a much-needed escape and a chance to tap into my inner child.
 |
| Wrap your silverware in paintable wallpaper scraps for unique napkin rings |
- Spring Rub on Transfers - Amazon
- Spools of String - Amazon
- Greenery - Walmart
- Styrofoam Eggs - Amazon
- Paintable Wallpaper - Amazon
- Reindeer Moss - Amazon
- DIY Vintage Mirror - Dollar Tree, read the post
- Scripted Bucket - Trash to Treasure, read the post
- Book - Had on hand, you can use any book
- Vintage Milk Glass Plates - Auction Find
- Rose Picture - Thrifted Find
- Silver Serving Tray- Thrifted Find







These are just adorable! I'm terrible at decoupaging eggs. I really try, but I guess I don't have the knack. Yours look lovely!
ReplyDeleteThank you Kim, but I have seen your work, you always do amazing with whatever project you are working on. I admit, the book pages were something new for me, but it really worked out well with the thickness since napkins tend to tear, but the book pages stood up to the manipulation I put it through going around these eggs.
DeleteHi Cara! Your eggs turned out so cute! I love the idea of using book pages as the base! The transfers are so pretty and the perfect size for the eggs! Thanks for all the great tips!
ReplyDeleteThank you Donna! I have really enjoyed the challenge I put in place for myself with rub on transfers, it has really gotten my creative juices flowing. I really do not like using books, but this one needed to be made over into something else anyway, so why not eggs?
Delete