If you've been following along, you might recall a friend's wife gifting me a crafty tote, overflowing with spools of tulle. And what does one do with a plethora of tulle? Well, you create a Christmas tulle tree, of course!
I confess, I had no clue what I was doing when I embarked on this tulle tree journey. But hey, trial and error are the spice of life, right? The result? A charming Christmas tulle tree that could rival the stars perched atop our china cabinet.
Now, let's get down to business, shall we?
Materials Needed:
- 1 spool of tulle of your choice
- 1 wood dowel
- 1 terra cotta pot
- Styrofoam
- Paint
- Paint Brush
- Hot glue
- Glue gun
- Scissors
- Star (if you choose)
Instructions:
- Choose a terra cotta pot, I used a 4-inch terra cotta pot from Walmart
- Dry Brush terra cotta pot with your choice of color, I chose Ivory Chalk Paint by Waverly
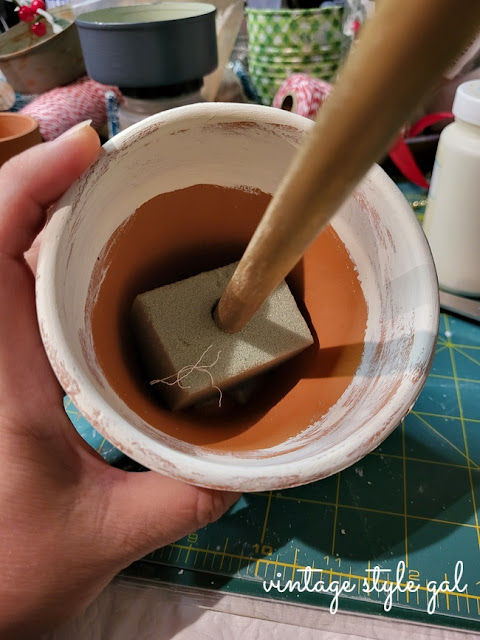
- Cut green styrofoam to size
- Place a good dollop of hot glue in the bottom of your pot then place the styrofoam into the bottom, set aside
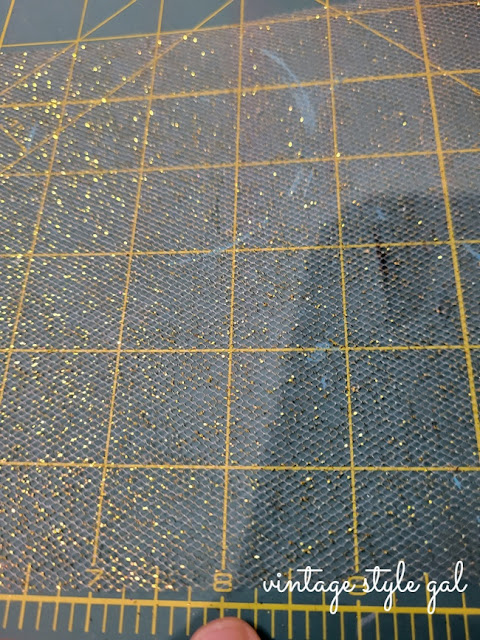
- Begin cutting tulle into 10, 8, 7, 6, and 4 inch sections, I used gold glitter tulle for this tree
- Push wood dowel down into the foam
- Begin with the largest piece of tulle, at 10 inches, tie the tulle around the dowel and push down to the bottom of the top of the terra cotta pot and keep going until you have filled your tree out
- You will cut 8 pieces of 10 inch tulle and tie them all around the dowel rod
- Then tie off 10 pieces of 8 inch tulle
- Tie 4 pieces of 7 inch tulle around the wooden dowl rod
- Tie 8 pieces of 6 inch tulle
- 9 pieces of 4 inch tulle around the wooden dowl rod until you reach the top of the wooden dowl
- Leave enough room at the top for a star or ornament to finish off your tree
- Drill a hole into the top of wood dowel rod to place DIY Xmas tree toppers to finish off your creations
Tips:
- Adjust the craft to your liking—more or less tulle, your call!
- Gradually decrease the tulle length as you move up to create that perfect tree design
- Don't forget to leave room at the top for a star or a fabulous ornament to cap off your masterpiece
- As you tie the tulle, turn your pot a quarter turn for each piece, this will be helpful in distributing your tulle evenly over the trunk
 |
| I guess I missed taking a photo of measuring out 6 inches |
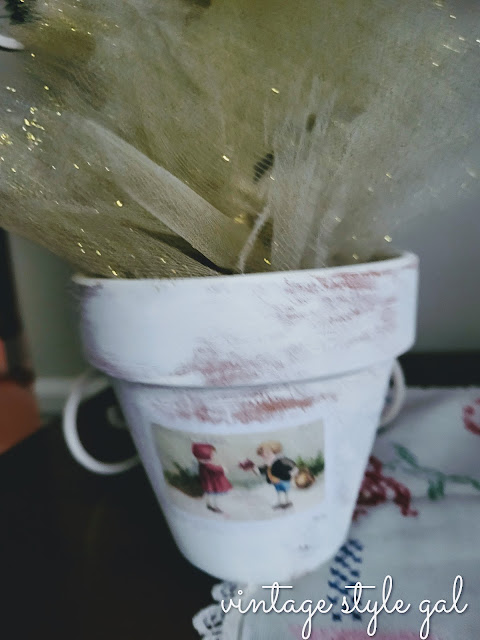
Voila! A simple Christmas craft that, in my humble opinion, deserves to stay out longer than Christmas itself. I even threw in a vintage stamp picture I had saved—because why not? Crafting is all about those spontaneous touches. Now, who's up for trying this tulle-rrific project?
Happy crafting, my friends!
Don't forget to Pin for Later!


Cara, I am so happy to hear you are enjoying selling your darling crafts. You are so creative. I adore your darling toole tree. I agree it is fun to experiment with new projects that we create in our heads. I would say you were very successful with this one.
ReplyDeleteThank you Wendy. Some days, I am like let's just see what happens for experimentation sake because I like to try new things. Marrying items together has been my mantra here lately so I can condense the items in our basement. It is getting quite cramped down there these days.
DeleteHi Cara! I am a fan of tulle, so I think this is the cutest idea! It turned out great and I'm going to have to put this on my idea list for next year! Thanks for sharing your creativity with us!
ReplyDeleteThank you Donna, this was an interesting one from the beginning, but I was happy with the way it turned out. I hope you get to make one next year!
DeleteHow much fun is this, Cara! I love all the sparkles in the tulle and how you added a decorative touch to the flower pot too. It's all so pretty! I can't wait to make some of my own. They would be perfect for so many different kinds of celebrations! Hugs, CoCo
ReplyDeleteThank you so much CoCo, I have made terra cotta pots for a long time, but never really shared them here on the blog. I have given them for bridal showers, baby showers, weddings, so many possibilities. Even for birthdays, holidays, and break-ups!
Delete