Unwrap the Magic: A Festive Showcase of DIY Christmas Crafts on a Budget!
Discover a world of holiday enchantment with these budget-friendly DIY Christmas crafts. From charming snowflake ornaments to transformed tins and min Christmas trees, follow along as we share creative ideas to bring festive cheer into your home. Don't miss out on the joy of crafting this holiday season!
DIY Snowflake Christmas Ornament:
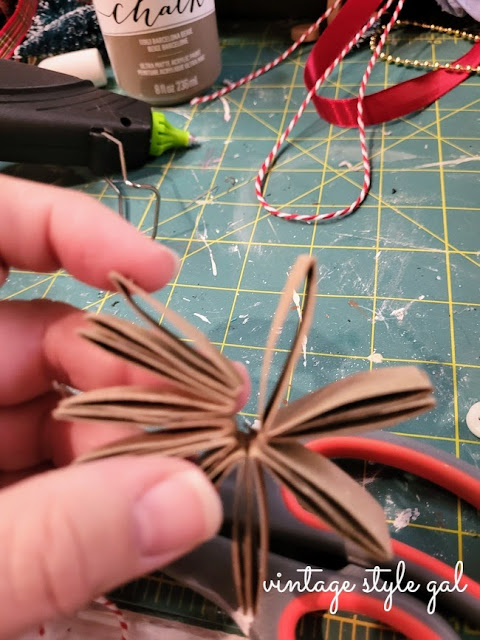
Leading this Christmas extravaganza is a humble yet versatile item found in almost every home - the cardboard toilet paper roll. I've been saving these little gems, and recently, a burst of inspiration led me to create a charming DIY Snowflake Christmas Ornament. Here's what you'll need:
Materials Needed:
- 1 cardboard toilet paper roll
- Glue gun
- Hot glue
- Scissors
- 2 buttons
- String of your choice
Step-by-step guide for creating beautiful Christmas ornaments from toilet paper rolls:
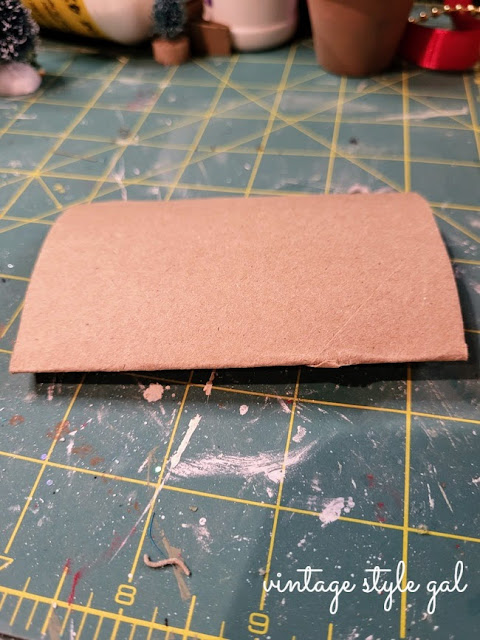
- Remove all remnants of paper from the cardboard roll
- Flatten roll for ease in cutting
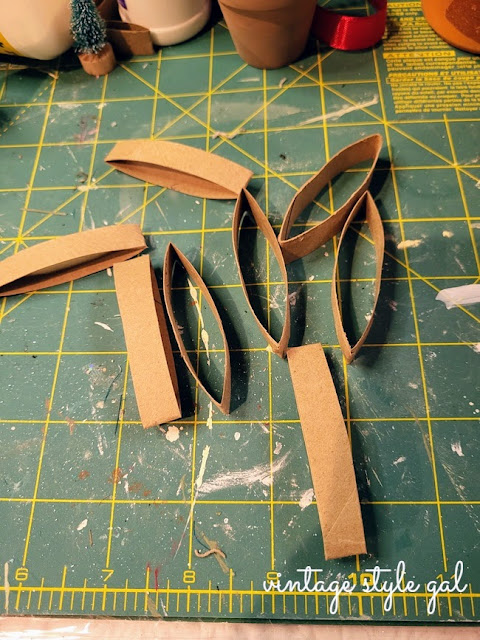
- Cut the roll into 6 or 8 equal parts, depending on how many points you would like for your ornament, I made both and they were cute either way
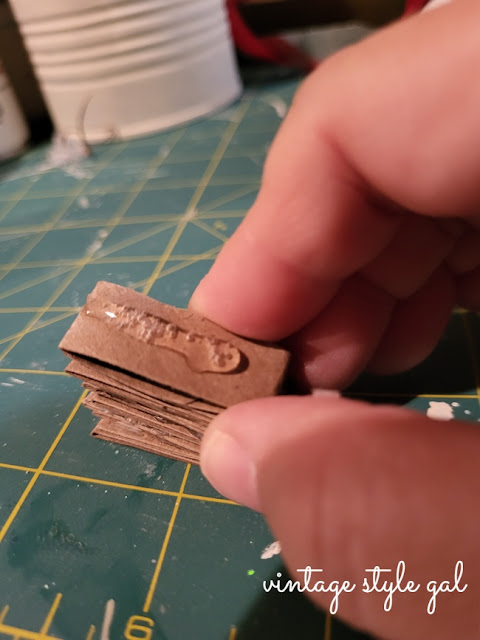
- Fold each piece in half, and begin gluing the folded sections together so each fold is on the inside of the ornament
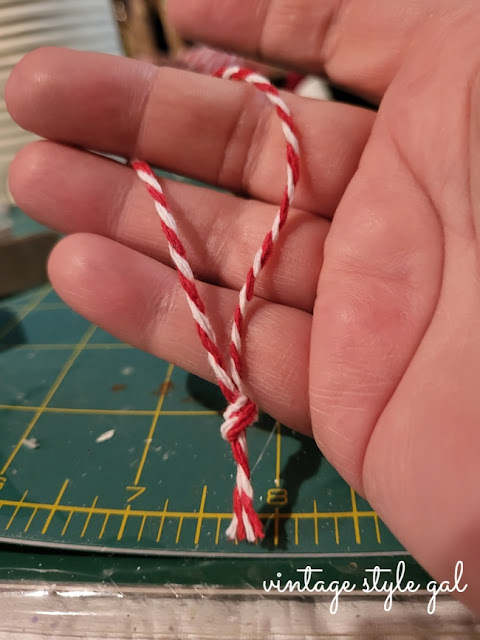
- Before gluing the last section, create a knot in the string, and glue inside the cardboard, release, and viola, you have a snowflake ornament!
Feel free to leave it as is or add buttons for an extra touch. Surprisingly cute for a toilet paper roll, isn't it?
I recently had someone reach out and share their crafts never turn out, and they were going to give up. I want to encourage everyone not to give up on crafting - even the simplest projects can turn out beautifully when we ease the pressure on ourselves.
Now, onto more exciting ideas!
Santa Tin DIY
Transforming an old tin into a jolly Old St. Nick is another project that brought me immense joy. A rub-on transfer turned a worn tin into a festive masterpiece. I opted for a simple design around the tin lid, skipping the rustic touch this time.
Christmas Decoration Ideas
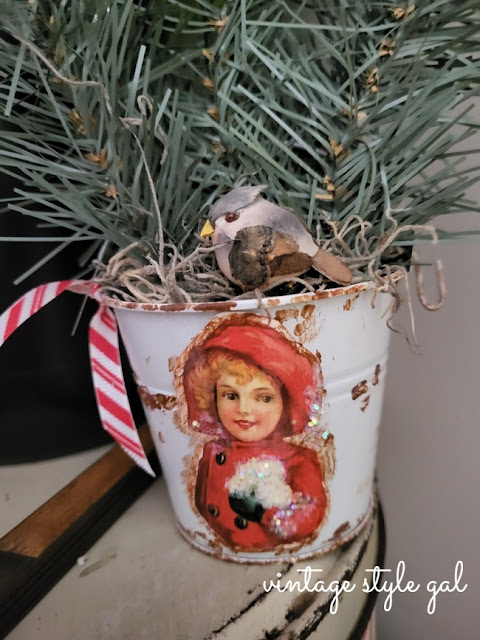
A small white pail received a delightful Christmas makeover with a Victorian sticker, candy can=striped ribbon, and a touch of rust, or should I say paint. Adding a charming little bird, sprigs of pine, and Spanish moss brought this decoration to life.
That little bird is just the final touch I was hoping for, and he did not disappoint.
Cardboard Round Trinket Box
In a former life, this plain Jane cardboard round box would have been overlooked perched on a shelf. Well, that is no longer the case! I love vintage pictures of children, and so I found this by searching free clip art, and decided it would be the prefect touch to this trinket box.
I painted the box, added pine to the girth of the box, and a few holly leaves, along with the picture, glitter, and a bit of paint for a rusted old charm look.
Mini Christmas Trees
Unused mini terra cotta pots from last summer turned into adorable mini Christmas trees with Santa and angels. A touch of ivory chalk paint, Mod Podge, and creative embellishments gave them a festive look.
Aren't the angels adorable? I was only too excited to add a bit of glitter to their garb to give it that polished final touch.
DIY Jar Craft
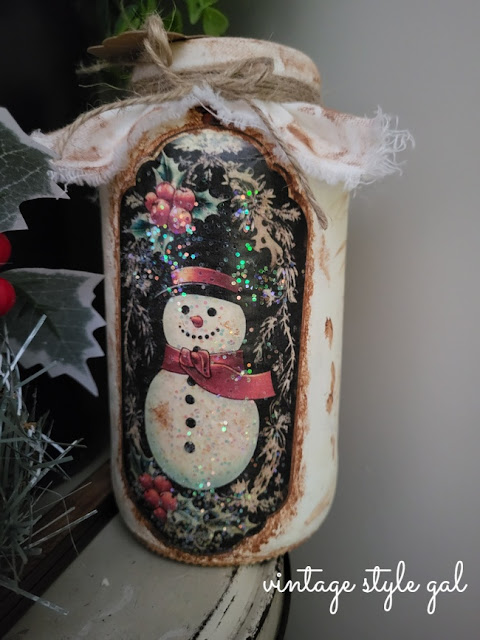
Free clip art added a winter-themed touch to a jar, complemented by rustic details. Crafting with glass and paint made creating these jars surprisingly easy.
Finally, my most cherished piece - a canvas upcycled with rustic beauty. After removing the canvas from its frame, filling holes, and painting, I experimented with the iron Mod Podge method for decoupaging, achieving impressive results.
I had been wanting to try this iron Mod Podge method for some time, but kept forgetting. My friend Ann reminded me, and so I gave it a try. If you would like a full tutorial, you can visit Ann at Applestreet Cottage where she gives you all the deets on how to turn your decoupaging into works of art with NO wrinkles! I was impressed with the final results.
That wraps up today's showcase of crafts from my crafting lair, aka the basement. Stay tuned for more creative ventures!
Don't Forget to Pin for Later!
Cheers!
Cara


