Crafty Christmas Chronicles: Turning a Dollar Tree Tag into a Holiday Masterpiece!
Join the festive crafting adventure as we transform a Dollar Tree tag into a double-sided holiday delight! From battling stubborn cork to dancing with an iron, discover the whimsical journey of crafting with Dollar Tree materials, complete with a vintage Santa, snowmen, and a touch of unexpected drama. Dive into the yuletide chaos and find out if this craft is the jingle in your bells! 🎄✨
Happy Thanksgiving, my friend! While some folks might be holding off on the Christmas cheer until today, I've been in a festive frenzy, dreaming up yuletide crafts for months. Ready for another project to jingle your bells? Buckle up because this one's a bit of a sleigh ride, but I promise it's worth the read.
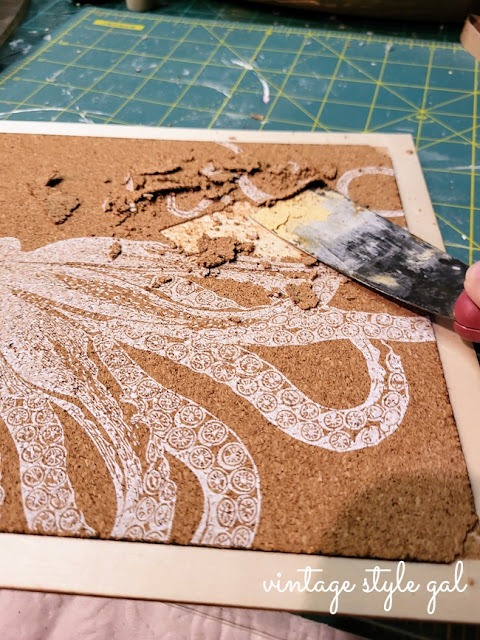
Now, the elbow grease part comes into play—thanks, Dollar Tree, that cork was clinging on like Santa to his sleigh! It took some muscle, but after a tug-of-war with the cork, victory was mine.
Be careful not to gouge the wood, though. A tiny mishap left a mark, but hey, we all have battle scars, right?
See how it's getting easier? Upwards motion is best when removing the cork, steer away from side to side scraping. This part is like unraveling a candy cane, but less sticky. Twenty minutes later, the cork surrendered. I multitasked, tackling it during a phone call—because in my world, crafts and calls go hand in hand.
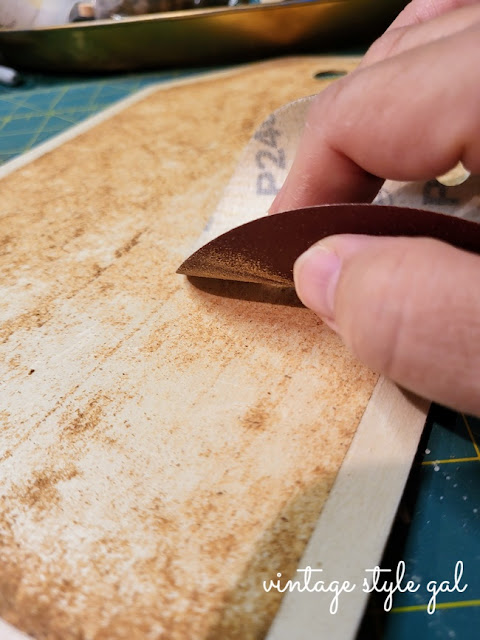
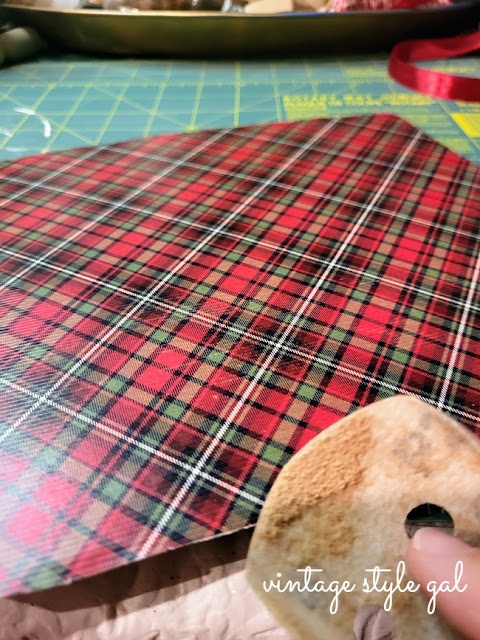
With the cork defeated, I sanded away the glue bumps, aiming for a smoother finish. A crucial step because, spoiler alert, tartan plaid wrapping paper was about to make its grand entrance.
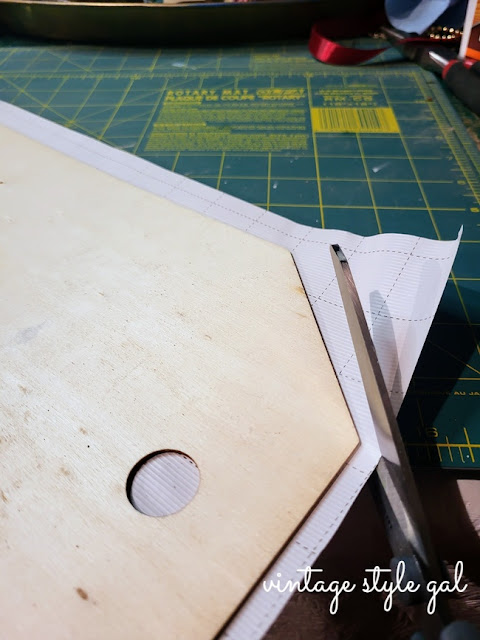
Mod Podge came to my rescue to create the perfect Christmas tag! I nearly forget the iron method (almost), slathering that tag in glue, and smoothing paper with my hands as I went. Things were getting sticky, but I was committed.
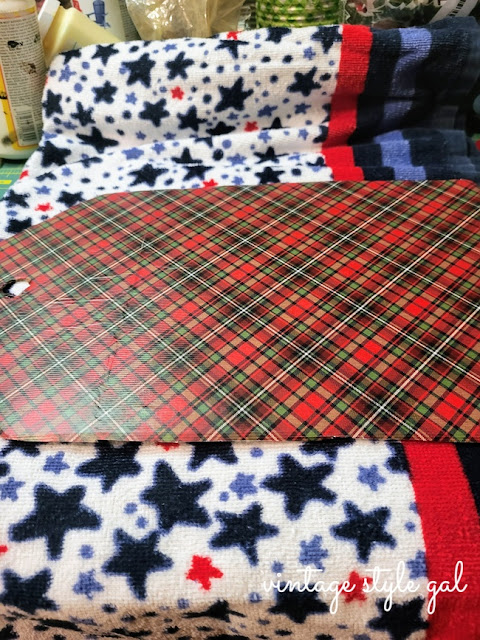
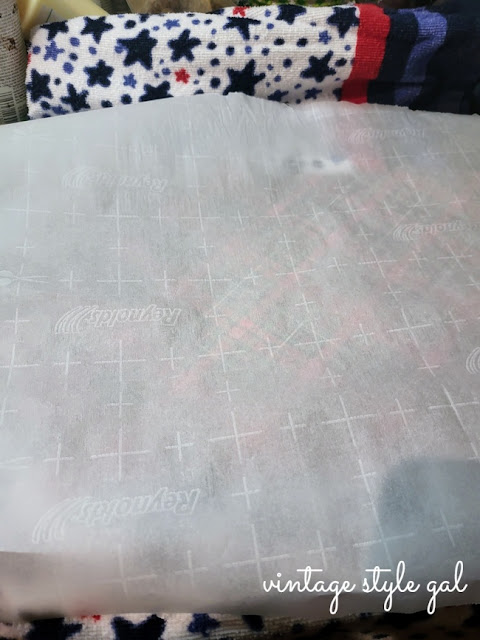
When this crease popped up, I decided to pull out the big guns—well, an iron—and danced a jig as the wrinkles thankfully smoothed away. Ironing out those wrinkles while using Mod Podge is a real game changer, making your crafts look so professional and high end.
I put down a towel under my tag before bringing out the iron. This is a must. I forgot last time and melted the green mat I was working on. Live and learn, it’s how we roll around here.
The edges got a sanding for that polished look. A crafting pro tip: crisp edges make your crafts go from homemade to high-end with a snap of your fingers.
Look Ma, no creases!
Are you loving the tartan plaid as much as I am? It always makes me feel warm and fuzzy inside when I come across this pattern.
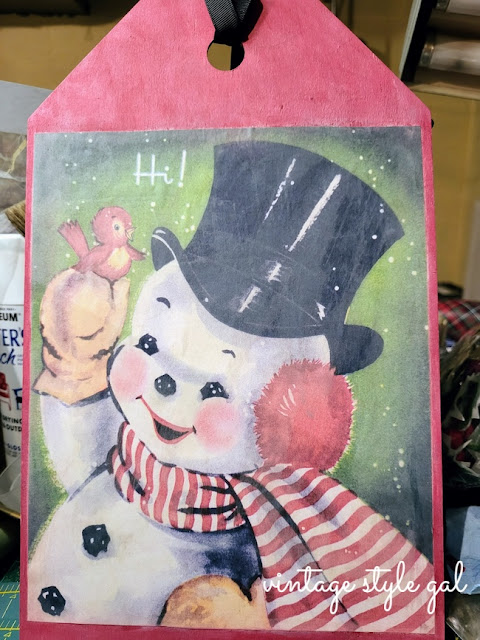
Now, my friends, the plot thickens. A vintage Santa from Graphics Fairy joined the party. But I'm not a one-sided crafter—oh no! I decided this tag needed a double feature: Christmas on one side, vintage snowman on the other.
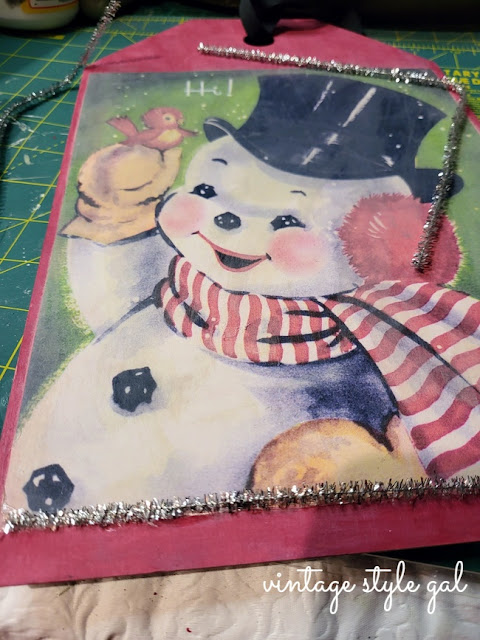
Red chalk paint, a cute vintage snowman with a sparkle in his eye, and voila! We had another tag, but wait, it needed a little something more since we sometimes love a bit of "extra" around here. Enter silver pipe cleaners for a festive border, and so economical to boot!
A splash of Waverly white wax to give my project the perfect vintage flair I was searching for and we were off to the races, almost ready to hang our vintage inspired Christmas decorations.
Ta-da!
Silver rub-n-buff here, antique gold there—this tag was becoming a holiday masterpiece. Until, alas, a watermark and Santa's black eye (look very closely) made a cameo. Crafting woes, am I right?
So, what's the verdict? This project was a journey, but isn't that what crafting is all about? My advice: dive in, take risks, and dance your way through the crafty chaos. Would you take on this festive challenge? Share your thoughts, and let the jolly Christmas crafting begin! 🎄✨
Don't Forget to Pin for Later!
Cheers!
Cara










I love this craft idea! It has such a great look, and it's given me some inspiration for something to go on my front door. Thanks for sharing this!
ReplyDeleteI am so glad you enjoyed this one Molly! It was a bit of work, but in the end I was happy with the results putting in that elbow grease. This little Dollar Tree tag kept evolving throughout, but I am loving all of the details, and now it can stay up through February!
DeleteI love this Cara! It came out fantastic. Love the plaid. Great dollar tree up cycle ! XO- MaryJo
ReplyDeleteThank you MaryJo! I am a plaid lover, so I always look forward to Christmas where I can sprinkle it throughout our home.
DeleteYou have such a special way of seeing these no one else would ever see, Cara, and it's one of my favorite things about you. I love how this came together and how it looks competely different than the way it started. It's really creative and perfect in every way! Big hugs, CoCo
ReplyDeleteThat is the best compliment ever CoCo! Thank you. I am a bit mad for plaid, if I could cover our entire home in it year round, I probably would! I have been expanding my creativeness lately, and seeing how far I can push the limits. It is interesting to see projects through others' eyes. I will be keeping this little man in the big red coat for some time.
DeleteThis is a great project with a beautiful result, Cara. I love the vintage vibe!
ReplyDeleteThank you Ann! I was happy to use the wrapping paper I had for this project, I enjoy decorating with it more than wrapping gifts, I'm such an oddball.
DeleteHi Cara - Your project turned out great! I love the silver tinsel you put around the snowman. Thank you for sharing your post with the Home Imagined Link Party.
ReplyDeleteThank you Anna, I had a lot of fun with this one, it was the project that didn't want to end. I just keep going as I saw new ways to liven it up a bit.
ReplyDelete