Crafting Ghostly Charm: Unveiling the $1 DIY Specter
Summon your creativity with our step-by-step DIY Halloween ghost guide. Craft spooky charm from everyday materials and create your own ghostly masterpiece for less than $1. Unveil the enchanting process of crafting unique ghost decorations that will bewitch your Halloween decor.
Howdy, friends!
Today, I'm thrilled to share the secrets of conjuring your very own DIY Halloween ghost.
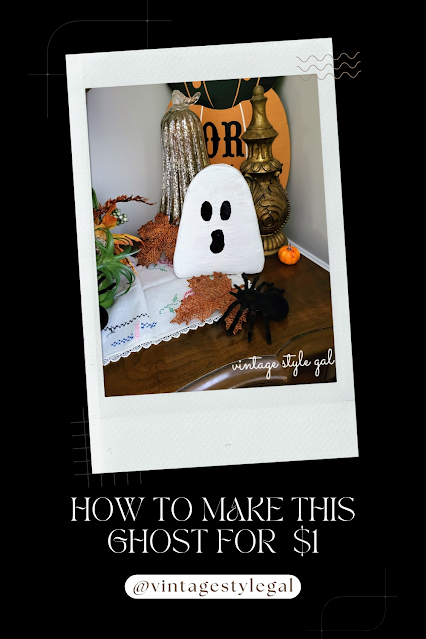
Brace yourselves, because this little DIY ghost will knock your socks off! Can you believe that I whipped up this spine-tingling Halloween ghost decoration for less than a dollar?
I know, it sounds insane, but with a handful of materials I had on hand, this ghostly creation came to life.
And guess what? You can easily do it too.
The Ingredients of Enchantment:
- Cardboard
- Black Sharpie Marker
- Scissors
- White Paint
- 10 Dollar Tree Tumbling Tower Blocks
- Mod Podge
- Dap DryDex Spackle
- Putty knife
- Masking Tape
- Hot Glue
- Glue Gun
Instructions on Summoning Your Ghostly Guide:
- Ghostly Blueprint: Begin by sketching your ghost's form on a piece of cardboard. Embrace imperfections - my free-handed ghost is a testament to unique charm
- Ghostly Army: Use your first cardboard as a template to trace three more. Cut them out to create a spirited squad.
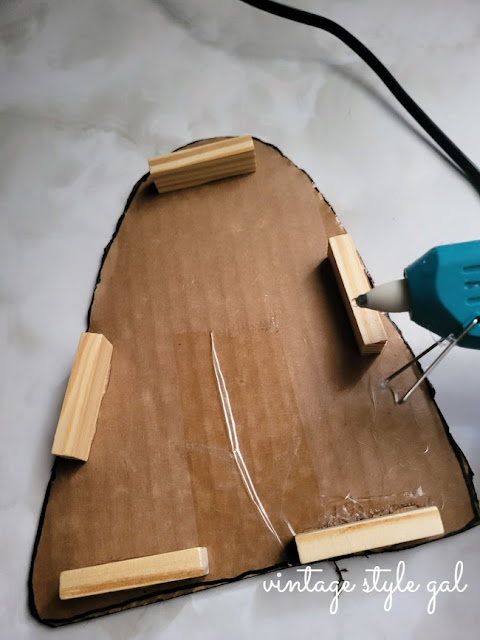
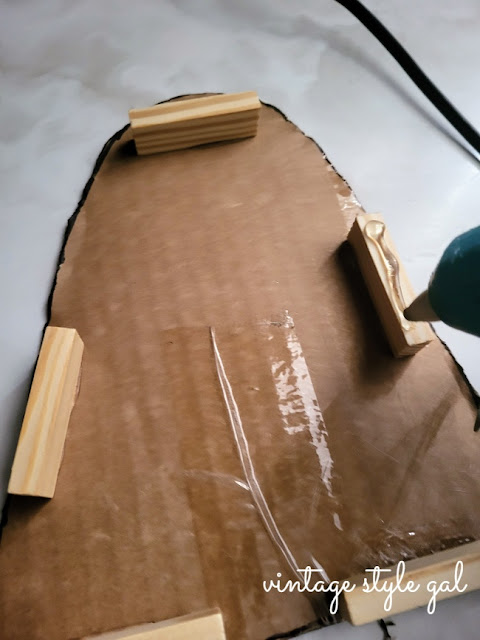
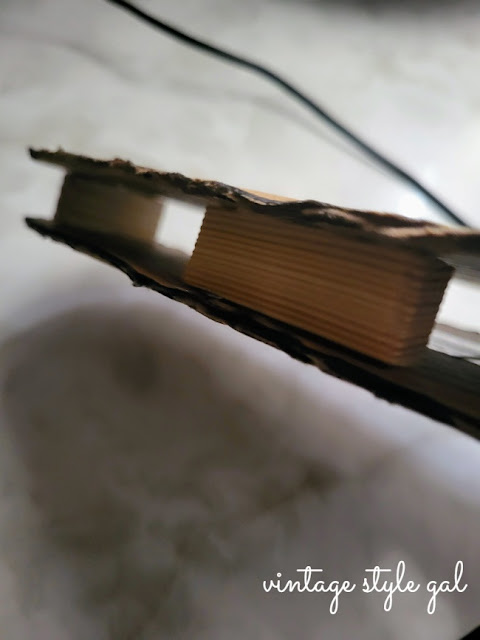
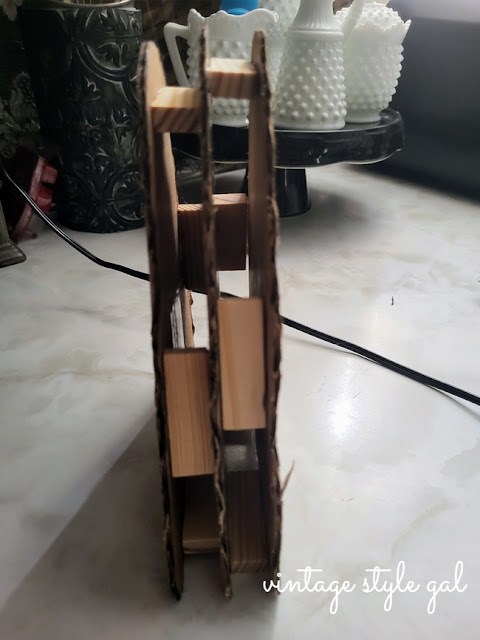
- Stacking Specters: Position the first cardboard ghost to and attach 5 tumbling tower blocks using hot glue. Reference photos for guidance.
- Building the Ethereal Tower: Apply hot glue to the tower blocks, then layer another ghost form on top. Add 5 more tower blocks, repeat the glue process, and top it with the final cardboard ghost.
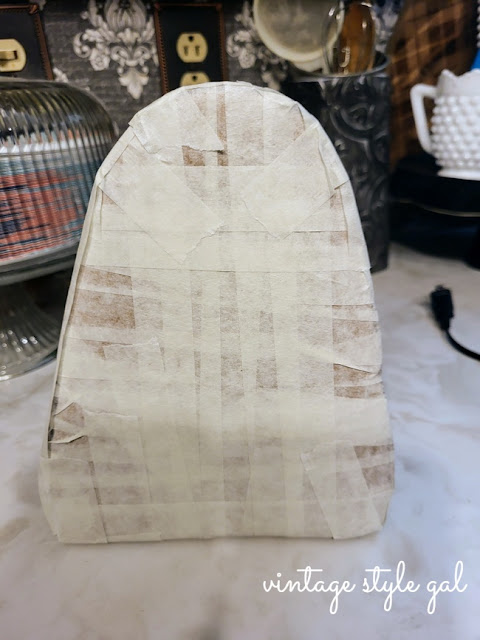
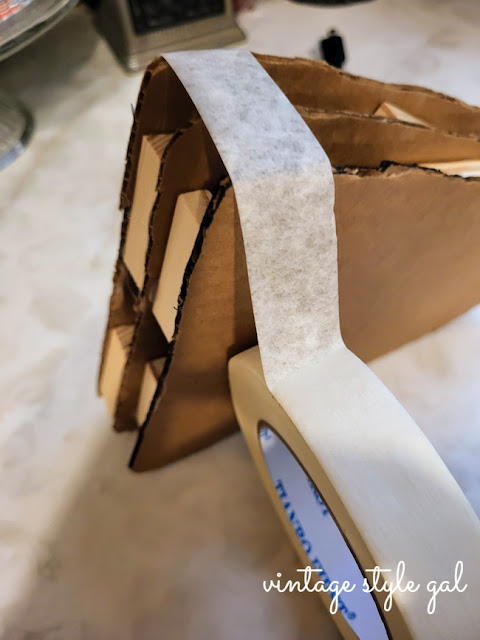
- Ghosts Armor: Wrap your ghostly creation with masking tape, ensuring no gaps remain. Envelope it entirely for a sturdy base.
- Spackle Sorcery: Work your magic with Dap DryDex using a putty knife. Cover the top, sides, and front. Allow it to dry completely - when the DryDex turns white, you're good to go.
- Backside Beauty: Apply spackle to the back, let it dry, and give it a 24-hour rest.
- Polishing the Phantom: Gently sand the spackled areas for a smooth surface, wiping off any excess dust with a damp cloth.
- Shroud of Whiteness: Paint the ghost entirely white, creating an ethereal presence.
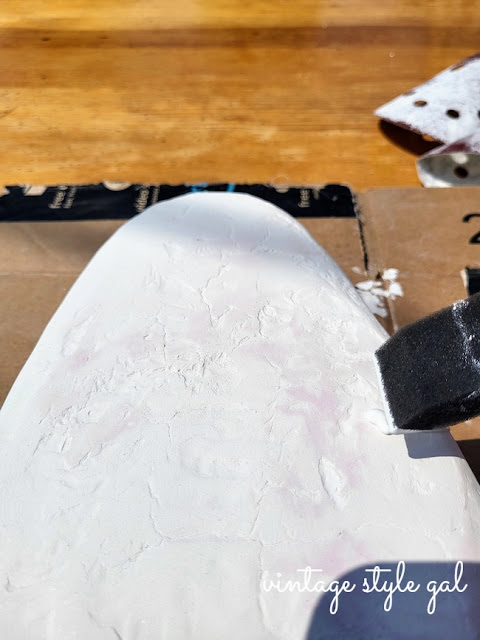 |
| Not perfect, but I am going with it |
- Ghastly Gleam: Apply two coats of Mod Podge.
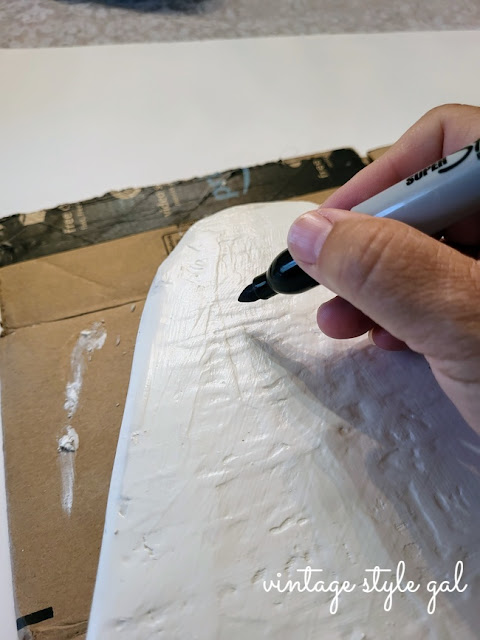
- Ghostly Persona: With a Black Sharpie Marker, grant your ghost its unique expression. The face brings life to the specter's charm.
- Unveiling the Ghostly Marvel: ta-da! Behold your very own Halloween DIY ghost. Its spooky essence is the perfect blend of eerie and delightful.
Whispers of Spooky Artistry:
A Harmonious Hunt:
I can't help but think that these easy ghost decorations harmonize perfectly with our spiders and vintage inspired Jack-o-Lantern . And who's to say there won't be more of these DIY ghosts floating around here before the holiday fever fully takes hold?
Calling All Crafters:
What do you say? Are you ready to take on the challenge of crafting these Halloween ghost DIY? With a pinch of imagination and a dash of creativity, you can give life to these ethereal beings that will haunt your decor with whimsy and charm.
 |
| Couldn't you see making headstones out of these too? |
A Spooky Round of Applause:
As you begin your DIY ghost-making journey, remember that crafting is not just about the final product - it's about the process, the joy of creation, and the thrill of bringing something supernatural to life.
Whether you're a seasoned DIY sorcerer or a novice ready to embrace the spooktacular, let these DIY ghost decoration guide you into the mystical world of Halloween enchantment.
Don't Forget to Pin for Later!
Ciao,
Cara









Cara, this is super cute! Love it. ❤️
ReplyDeleteThank you Stephanie, I began working on Halloween a few months ago, a rarity for me. I need some lessons on spackling since I couldn't seem to quite get it smooth, but I thought not bad for a first try. I am imaging candy corn, headstones, the works with this idea.
DeleteOmgosh Cara! This is so cute and clever. I love it and your tutorial is great. I love how Halloween brings out our inner child! Thank you so much for visiting us and sharing at the Home Imagined link party. XO- MaryJo
ReplyDeleteThank you so much MaryJo! I agree, Halloween does make me feel like a kid again. I have to admit, I wasn't much of a kid when I was actually a kid... dance class was on Thursday nights, and I never wanted to miss, so I missed out on numerous Trick or Treat nights. Thank you for having me over. Have a great week!
DeleteThese are so stinking cute Cara! Two of my nephews are totally obsessed with spooky season and this month we started a group text with all sorts of fun Halloween ideas and they will love this one. I can't wait to share it with them! Big hugs, CoCo
ReplyDeleteThank you so much CoCo, I had a lot of fun with these ghosts, I had no expectations on how they would turn out since I wasn't sure what to expect. I sometimes think those are the best projects. I have all sorts of plans for making similar items in the future.
DeleteThis is such a cute ghost Cara! I have never tried using spackle like that before! Thanks for the great idea! Spooky season will be here before we know it!!
ReplyDeleteMy spackling skills are a bit to be desired, but I had a lot of fun with it. I noticed I had it on a bit thick once I began to sand it down. Then I noticed in some spots I was a bit thin, now I know what to change for the next one. I have a lot of ideas for this method! You will have to let me know how it turns out Donna!
DeleteCara,
ReplyDeleteThis is so darn cute!! I love Halloween and do my Dining Room strictly in Halloween decor...I do have a bit of Whimsical Halloween in the Kitchen and in the Powder Room too....I love Fall and Halloween and I can't wait to get started but I will wait until the day after Labor Day....Sorry that you have to do a bathroom remodel that you were not planning on...I do love my house but I am tired of being a homeowner....I would love to move to a maintenance free apartment....Thanks so much for stopping by!! I truly appreciate it...
Hugs,
Deb
Thank you Debbie, I was happy with the way he turned out, I know my spackling skills need some work, but it was a fun project over the course of a few days. I was never really a Halloween decorator, but I am slowly warming up to it. I can understand your point of view, being a home owner is hard. I am sad to let go of my 1950 bathroom, but we are kind of excited to work on a big project again, it's been a while since we have. I cannot be around the dust from rehab anymore so progress has been slow around here. I am a bit sad I will not be able to be in the trenches like I have been for some of the other projects.
DeleteCara, so resourceful and SPOOKY CUTE!!
ReplyDeleteWe will be featuring you starting Wednesday at the Creative Crafts Linky Party! Pinned and shared!
Creatively, Beth
Thank you so much Beth! I love those projects where you can go back to being a kid again, and this was one project I felt like I could do that with. It was all trial and error, I wasn't sure how it would turn out, but it was a lot of fun!
DeleteWow! That is impressive. I would have never thought of this possibility. Great job! Visiting from Crazy Little Lovebirds Link Party.
ReplyDeleteThank you Jennifer! This was a fun project since I wasn't exactly sure what to expect, but I am happy with the way it turned out. I love using items that would be otherwise thrown out.
DeleteOh my gosh! SUPER creative. I love how this turned out and you can use them the following year. Thank you for sharing this post on the Home Imagined Link party. Happy Fall!
ReplyDeleteThank you Anna, I was happy with the way this project turned out, I am planning many more projects using this technique, but want to venture over into other mediums than the spackle.
DeleteHi Cara! I love this little ghost so much. It will be featured at the next Crazylittlelovebirds link party this Friday. Thank you so much for sharing your adorable ghost on a budgest with us.
ReplyDeleteThank you so much for the feature Stephanie. I had so much fun creating this little guy, I am looking forward to using this same technique on other projects.
DeleteWell, Isn't he the cutest little ghost ever! I love the texture you got from the Dap DryDex. I have never tried this medium before, so I am going to have to get some. I am gearing up for a little Halloween over here too. Nothing too scary, just a bit of fun.
ReplyDeleteI had wanted a smooth ghost, but this is what I ended up with. I had never tried adding spackle to cardboard, and the tape began to show through, I did think about a mummy, but I went with my ghost plan. I like that he is smooth to the touch after adding the Mod Podge. Thank you Wendy, I cannot wait to see what you have planned for Halloween, I am sure it will be awesome!
DeleteOh wow, what a cute and fun idea! I never would have thought of this, but I love it!
ReplyDeleteThank you Niky. This was a fun project that I really enjoyed.
Delete