DIY Repurposed Cardboard Craft for Home Decor
Don't throw away that cardboard box! With this DIY repurposed cardboard craft, you can turn trash into treasure and decorate your home on a budget.
Yes, you can always run out and get a loan to make things happen in your home, but frankly, we are not those people. We save, and then we get the projects completed that we want to do. It is the way we have been doing things here for the past ten years.
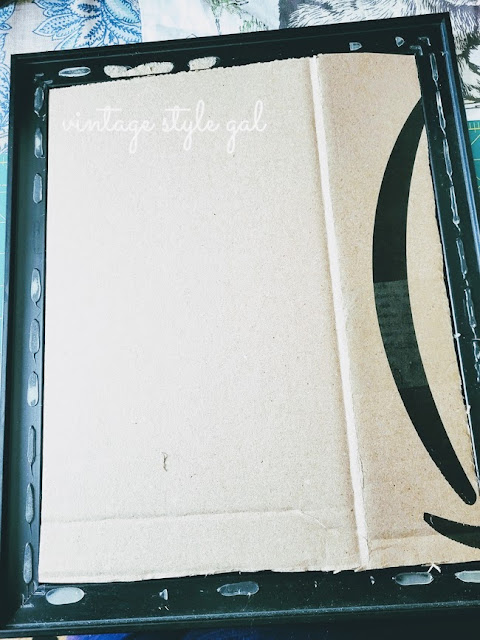
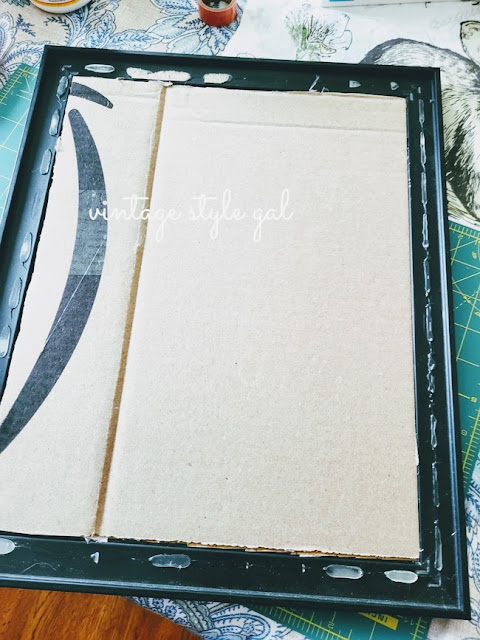
Cutting the box down to size was the hardest part of this whole creative cardboard project. Yep, it is a really simple one, and I was happy to be using that cardboard up! I made sure to cut it down to size for our frame, I did not cut it large enough to cover the entire back of my frame. If I would have done that, there would be no lip to hang it on the wall with.
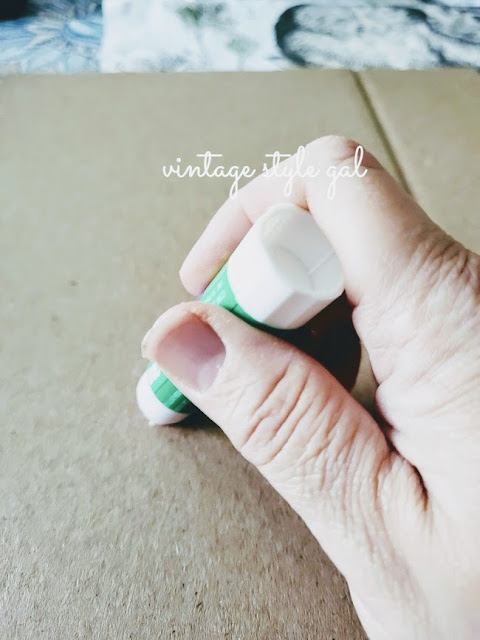
Once my cardboard was cut to size, I then decided on the paper I wanted to use, and cut it to size as well. With my handy dandy glue stick, I applied glue to the entire back of the cardboard and then placed my pretty paper to it.
I hot glued the carboard inside the frame along the sides, and thought about it for a minute. What to do? What to do?
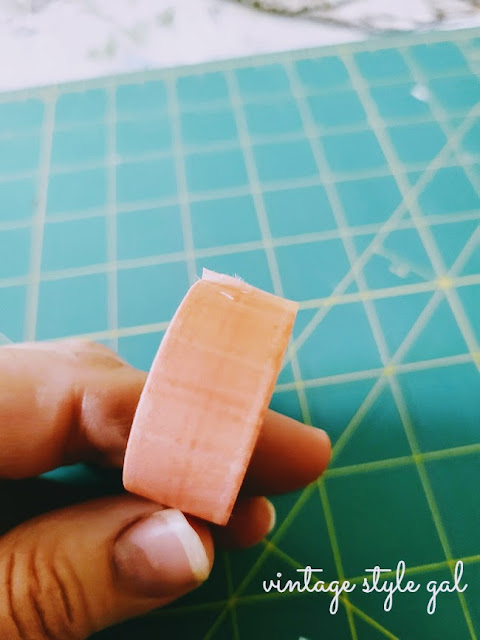
I remembered that I had picked up a pack of six of washi tape for $2.25! I have been wanting to try a project using this decorative tape for a while. Well, today was that day! It is a light blush color with a few shades darker pink as the plaid. I think it is too cute.
Anyone can spend a lot of money on their home, but the question is, do you want to? It takes a bit of ingenuity with some creativity thrown into the mix to really create a home you love while spending very little money throughout the process.
When I look at social media these days, I see cabinets with motors that recess back into walls, and cabinets that pop up, and TV's that do the same, but if you are anything like me, you may find those unimpressive. What? Cara, what did you just say? You are unimpressed?
Yes, I am. Why you ask? Well, I want to live in a cozy lil' cottage where I do not have any more headaches of things not working and trying to locate someone to make the repairs when they pop up. Life is difficult enough, and the more you have, the more you need to take care of.
Do you see where I am going with this? I know in our area I have been trying to have someone come out and take a look at our electric since we have been having some issues. Since I worked for an electric company, I know electric is not something I want to mess around with and I will gladly pay for someone to take that worry from my mind.
I was given a name of an electrician and the person indicated it will take him two weeks to call you back because he is that busy. Since I have lost my voice and I tend to be difficult to understand on the phone, my husband left a message. Two weeks comes and goes, I call and leave a message, again no return call.
I call another electrician, and it keeps snowballing until I call a company I am not familiar with, but guess what? They missed my call, and called me back! As I was leaving a message, their number pops up on my caller ID, and I automatically click over to accept the call since no one else is calling me back.
At least I now have an appointment, and since I have an appointment, I have a laundry list of things I want them to look at. Why not get it all finished in one fell swoop since it is so difficult to get folks to show up these days.
As I tend to go, the long way around since I like to explain my way of thinking and how I came to a conclusion, I have decided I will be sharing more budget friendly projects. It really does make you think outside the box and wake up that creativity! I have to say, I am loving it too.
Since others may be tired of all of the high tech like myself, I have a project to share with you today. Sit back, grab a cup of coffee (or whatever your drink of choice is), and enjoy a totally made up, off the wall craft I worked on with items I am guessing you may already have in your home.
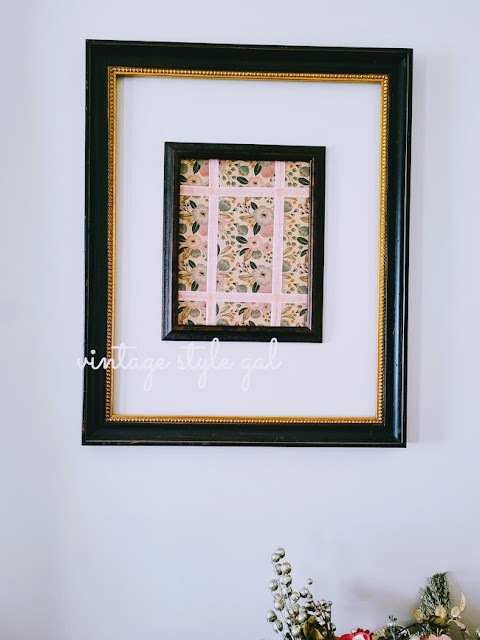
My sister asked if I wanted a frame that she said was missing the glass. I said sure, I will figure out something to do with it. When she brought it to me along with a pile of other goodies, I placed the frame on the wall inside of the larger frame I typically use in our dining room. It has been that way since I took down the Christmas decorations.
I kept looking at that frame every time I would pass the dining room, and think what am I going to do with it? Initially I thought it may frame out an item that would not typically be found framed, but then today I had an idea, and I just went with it and made it up along the way.
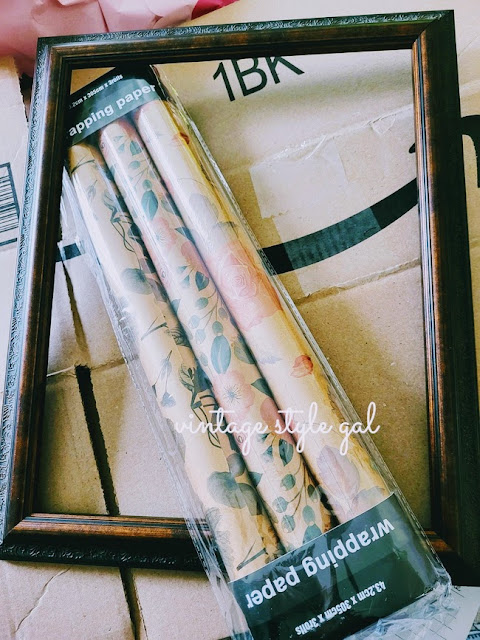
The frame as you can see has no glass, or anything else like a back to it. I had picked up this lovely wrapping paper not really having a project in mind for it, and then I decided hey, why not use these Amazon boxes for an upcycled cardboard art project instead of throwing them out?
Cutting the box down to size was the hardest part of this whole creative cardboard project. Yep, it is a really simple one, and I was happy to be using that cardboard up! I made sure to cut it down to size for our frame, I did not cut it large enough to cover the entire back of my frame. If I would have done that, there would be no lip to hang it on the wall with.
Once my cardboard was cut to size, I then decided on the paper I wanted to use, and cut it to size as well. With my handy dandy glue stick, I applied glue to the entire back of the cardboard and then placed my pretty paper to it.
Viola! It is now attached to the cardboard. While you can leave it as is, I decided I did not like the crease in my cardboard. See it above? I am pointing to the crease below. Blah. I did not account for that showing up, but I should have known better.
What do we do? Improvise!
I ran down the steps to the basement and grabbed some pink ribbon that came with my peonies. I hot glued the ribbon down, only yuck! I did not think about it making a mess of my ribbon, and you would be able to see all of the hot glue showing underneath.
I hot glued the carboard inside the frame along the sides, and thought about it for a minute. What to do? What to do?
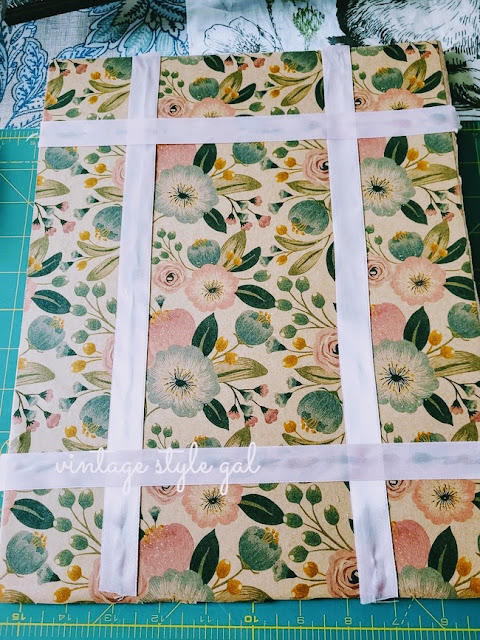
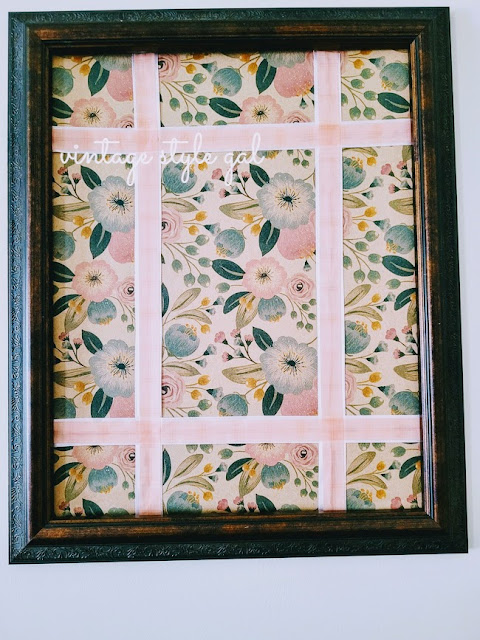
I remembered that I had picked up a pack of six of washi tape for $2.25! I have been wanting to try a project using this decorative tape for a while. Well, today was that day! It is a light blush color with a few shades darker pink as the plaid. I think it is too cute.
I placed the tape over the ribbon. Initially I thought oh, just take off the ribbon, but then I liked the way it gave a bit more substance to our washi tape, and thought it looked pretty cute. What do you think about our budget friendly, using what you already have, giving a frame a new life project?
I am actually quite fond of it. Not only did I use a broken frame, I also created an eco-friendly craft and prevented that cardboard from going to the landfill. Oh, I am pretty excited to get started on some ideas to share with you using more repurposed cardboard! When you use your creativity, the sky is the limit.
Since I only used about half of the roll of washi tape, that left me spending $.19 on that portion. The ribbon was something that came free with a peony purchase I made several years ago, the frame was free, and the cardboard was also free. The wrapping paper was $3.96/roll. I only used about 10% of the roll so my cost was about $.40. I spent less than $1.00 on this project, $.59 actually. When was the last time you only spent $.60 on something to hang on your wall?
Do you see how easy it is to still create a home you love with green crafting ideas, while spending very little money? I cannot wait to share what else I have been up to lately.
Don't Forget, Pin Now!
Ciao,
Cara







Hi Cara, You are so creative! I love that you made this with items you already had! The paper looks great with the color of the frame! The ribbon and washi ape give it so much interest! Can't wait to see what you come up with next!
ReplyDeleteThank you so much Donna. I enjoy creating with items I already have around the house, it just makes me be more creative, and let's face it, I have a LOT of stuff!
DeleteWhat a cute idea! I love the paper you used. Thanks for sharing your idea!
ReplyDeleteThank you! Super easy project, and I enjoyed using the cardboard that would otherwise find it's way into the trash.
Delete