Searching repurposing idea? We are pretty happy to share with you today a repurposing idea we are over the moon about, or maybe that is just me?
I want to share with you that you can still have the home you desire with an even smaller budget than what we usually work with. Small, meager budgets are my favorite since it really makes me dig in and get creative.
The other day walking through our mess of a basement I decided I really need to get things out of this basement. When we cleared out Mr. VS's childhood home we really pushed the limits of our home's storage. Since I am all about being transparent, honestly, we have a path to walk in the basement now.
It drives me crazy! I walk down the steps and think today is the day, I am going to begin working on this basement... and I open a few totes and look inside and think... okay, today is not the day. To say I am overwhelmed is an understatement. I am not even sure where to begin. It is the kitchen closet all over again, only magnified 1,000 times!
There is a sea of boxes and totes and then my regular things I just had to have over the years. We all know being conservative is not my strong suit when it comes to decorating our home. I have a lot of stuff.
So in one of my walk abouts, my eyes landed on a trim piece. There is another one in our basement that I think the previous owner put down there from when she remodeled the kitchen. She must have been like me, just could not bring herself to throw away perfectly good trim! Plus, how cute are scallops? I mean, come on, I am in love with them!
We were able to get one good piece when we removed our plate rack and that is the piece we are showing off today! I saw that piece and knew it needed to be saved and made into something else. Then I thought this piece really needs to stay in our kitchen too.
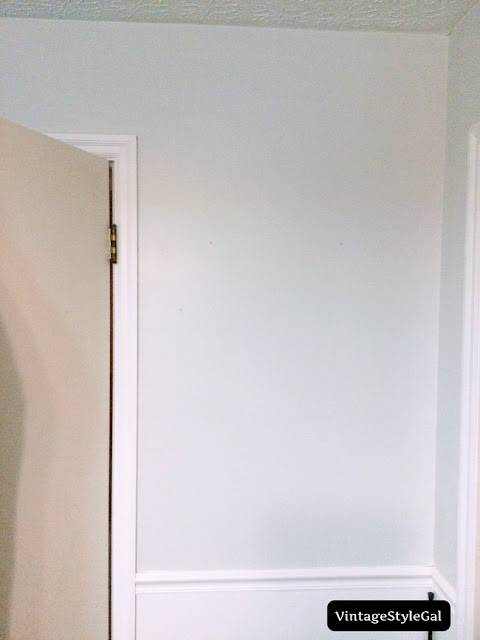
Behind our kitchen doors, I say doors because we have two doors that open to the same spot and overlap one another. The swinging dining room door opens into the kitchen and the kitchen door that leads to a hallway opens and so when both are open, they overlap each other. One would think it impossible to put anything behind these doors, but of course I managed it.
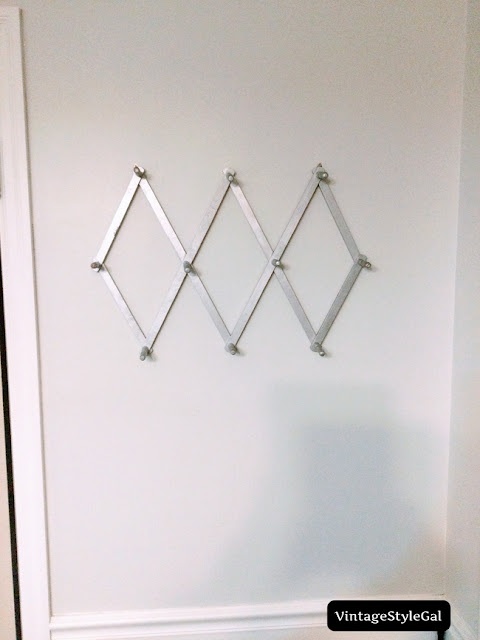
When we were first moving Mr. VS's items over I had come across this gem. Remember when these were in so many homes across America? I recalled one being in my own home growing up. I had painted it with silver craft paint and decided we would utilize the space behind our kitchen doors.
Some may say, that is a small wall to put anything on, and I said look at all of that real estate, I can fit something here! It really is a smallish wall, but I try to cram as much storage as I can in all of our small spaces.
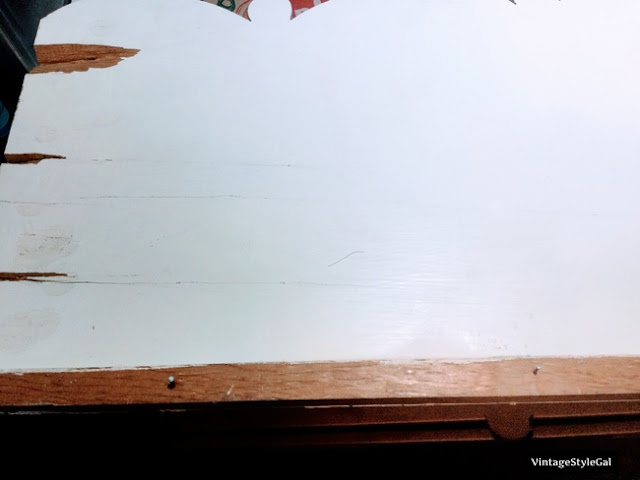
Here is where I found our trim piece that will be used for this project. As you can see, I have all sorts of goodies hiding in our basement. I have ideas for them too, but they are part of a long term goal.
I marched that piece of trim right up those steps and began cleaning her up. As you can see, she was a little worse for the wear. Scuffed up, dirty from being in the basement, and large nails sticking out.
I removed all of the nails, then took her outside and began sanding down the old paint. It was pretty glossy and I needed to rough it up a bit so the paint would stick to it. Mr. VS cut it down to size, we only had to cut off about 4 inches from the end.
The original plan was to wrap the trim around to the small piece of wall beside the swinging dining room door, but the plan did not work out as we planned. We were about 2 inches too short. We did not realize this until we were hanging it on the wall.
What's that saying measure twice, cut once? Well, I completely ignored that and kept with my plan. Don't worry, I have a little plan for that one teeny, tiny scallop so all is not lost! You may laugh when you see it, but it needs a little work before I can share it. It will become a part of this series as well.
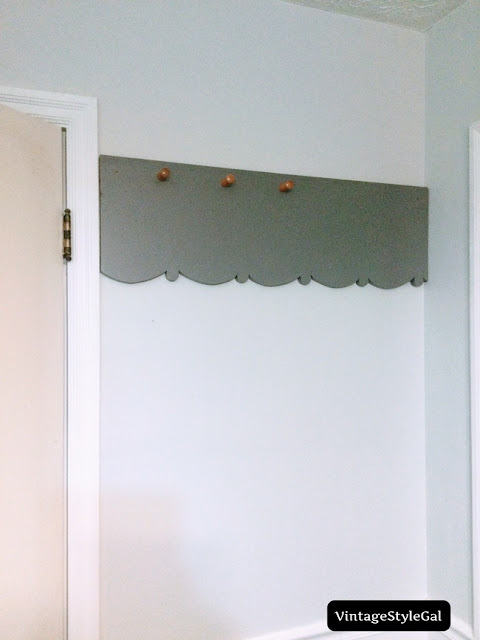
I had left over antique silver paint from a project I had planned for our wedding, but never implemented so I used it on this scalloped piece. That small jar of paint sure has gotten a lot of miles around here. I even used it in our bathroom closet.
Once it had been sanded, and painted with two coats, we were ready to hang her up. You notice I keep calling it her? I cannot think of anything else to call this trim, and surely scallops are girly, right? I like to name things around the house, but I only expose Mr. VS to my crazy names, like calling my car Bessie. She may be approaching vintage age, but she gets me around where I need to go. I have tried to find something else and nothing measures up to ole' Bessie, but we will save that for another day.
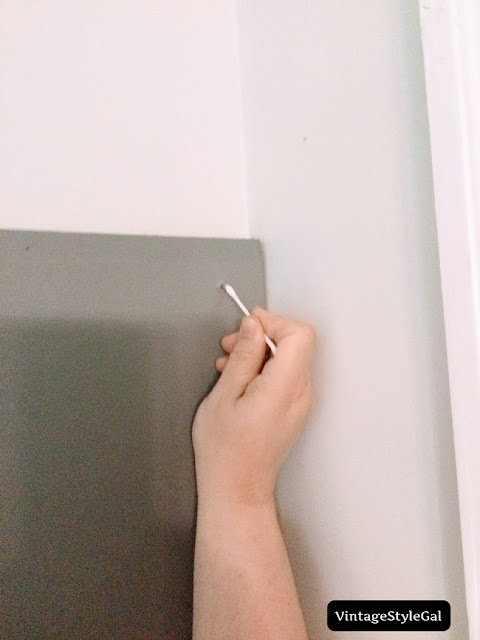
Do you see where I am going here with the trim? Have you figured it out yet? Mr. VS hung this scalloped trim on the wall, and made sure she was level. I covered the screws with a little paint. I used a high tech painting thingy 'ma bob, you know, a Q-tip. It's all a part of using what you already have.
You may be amazed with what we get by with around here. We do not have that many tools. We keep thinking about building another garage, but with lumber prices, we are waiting to see if they stay steady, go up, or if we were to get really lucky, go down, ha, fingers crossed, although I am doubting that goes in our favor. Only then would we be able to have all of the tools of our dreams. Storage is a hot commodity around here.
Isn't she a beauty? About now you may be saying, she is a little off, well, that is where we were planning to wrap it around the side, and since we are using what we already have... no more trim to make it perfect. I noticed it when she was hung, and I said no worries, we go for perfectly imperfect around here anyway.
Now, I did need to make a purchase. The pegs were not something I had already here, but for $11.99 for a set of 8, I decided I could splurge a bit to get exactly what I wanted. The plus? The pegs are about 2 inches long, they are actually smaller than the pegs that we were using previously. The doors when open do not stick out as much which made me happy.
I kept going back and forth whether I wanted a second row of pegs to hang more items. I decided we would go with what we have here since I did not want it to look like the mess I had on the wall before. We do have closets around here, but how easy is it to just grab and go so close to the back door?
Mr. VS has a hat collection since he wears a hat everyday that I thought would look perfect here. Then I noticed my scallops were not showing so much so I cut it down to three hats on these pegs. I added my jean jacket later, but I love we were able to add a little bit of the original charm of our kitchen back in.
If the original kitchen had been left in place, I would not want to remodel at all, I would just go with what we had. I love original kitchens... especially from the 1950's. Those scallops... now do you see those everyday? Nope, but I sure do love them.
Now we have one less piece in our basement, not a major dent, but I have all sorts of ideas using what we already have around our home to share with you. You could use any piece of trim to make what we shared with you today. You could also use left over wood. The coat/hat rack does not need to be large, you can make it any size you want.
You can stencil your wood if you think it is too plain. Paint it, leave it in it's original state.... so many things you can do. You could even spackle a stencil on the wood and then paint it to add texture.
Are you aware of all of the pegs out there? Oh my goodness! So many, it was difficult for me to make up my mind. Then I had to decide if I paint the pegs or leave them as is. In the end, I loved the contrast of the antique silver paint and the wood pegs.
What do you think? Do you have extra wood, or trim laying around the house that you would like to use? Here is an idea to reuse what you already have laying around your home. It helps in reducing waste since those smaller pieces sometimes get thrown away, plus you can have a unique piece you can call all your own. If you enjoyed the kick off of this series, let us know.
Oh, and no worries if you are here for the recipes, we are still planning to keep them going too. Whew... so many things to do and share, so little time, but we really do enjoy sharing our ideas and dreams with y'all. I love knowing there are like minded people out there like us. This is our forever home, and we plan on making her great while staying within a small budget! That's my favorite part after all.
Below are some options for wall hooks, do you see how the possibilities are endless? There are a million ideas out there, but in the end I went for simple for our kitchen.
I love how you can make this project truly your own with all of the options for hooks, and what you can do with a piece of wood or trim? Wowsers! I bet you are surprised I did not go with the birds... oh, and did you see our criss cross wall hanging is still fashionable all these years later? I plan to find another space for it, to keep in our mindset of still using what we already have...









This came out great Cara! Great tutorial and we do have trim laying around. 🙂. XO- MaryJo
ReplyDeleteI am glad I am not the only one with random items laying around the house. I have a difficult time throwing those vintage items out, and that trim was one of the things I knew I had to reuse in our home somehow, someway!
Delete